
The Comprehensive Guide to Growing Redcurrant Plants
Welcome to our comprehensive guide on growing redcurrant plants, a must-read for all gardening enthusiasts. Whether you're a seasoned gardener or a green-fingered novice, this guide will provide you with all the knowledge you need to cultivate these vibrant, tart berries in your own garden. Redcurrants, with their attractive, maple-like leaves and upright growth habit, are a delightful addition to any landscape.
Not only do they add a splash of colour, but they also yield a bountiful crop of berries, perfect for puddings, jellies, and sauces. But how do you grow redcurrants?
What are the key characteristics for identification?
And how do you protect them from pests like the currant blister aphid?
In this guide, we'll delve into everything from planting and care, to harvesting and propagating. We'll explore how to grow redcurrants in pots, how to prepare your garden compost, and even how to propagate redcurrants from seeds.
So, whether you have a sunny spot in your garden or a partial shade area, we've got you covered. Stay tuned as we unravel the secrets of successful redcurrant cultivation, ensuring your garden is bursting with these ruby-red jewels come late June to mid-July. Let's embark on this gardening journey together, and before you know it, you'll be a master gardener in the art of growing redcurrants.
Understanding Redcurrants: An Overview

Redcurrants are a gardener's delight and a culinary treasure. These vibrant red berries, grown on robust bushes, are a testament to nature's bounty. They are not just a feast for the eyes but also offer a tangy, semi-sweet flavour that can transform any dish. This section will delve into the world of redcurrants, exploring their characteristics for identification, their growth habits, and their unique features that set them apart from other fruits.
Understanding redcurrants is essential for any master gardener. These berries are not just another red berry; they are a vigorous cultivar that can thrive in diverse climates and conditions. Their adaptability and productivity make them a valuable addition to any gardener's calendar. So, let's embark on this journey to understand redcurrants better.
What are Redcurrants?
Redcurrants, or as some call them, the "masters of the gardener's calendar," are no ordinary fruit. These striking red berries are a testament to the bountiful and productive nature of the earth, made even more remarkable by their resemblance to the elusive jewel. Grown on sturdy bushes, these vibrant berries demonstrate an impressive resilience, easily thriving in diverse climates ranging from the frosty northern regions to the damp and semi-shaded corners of a garden.
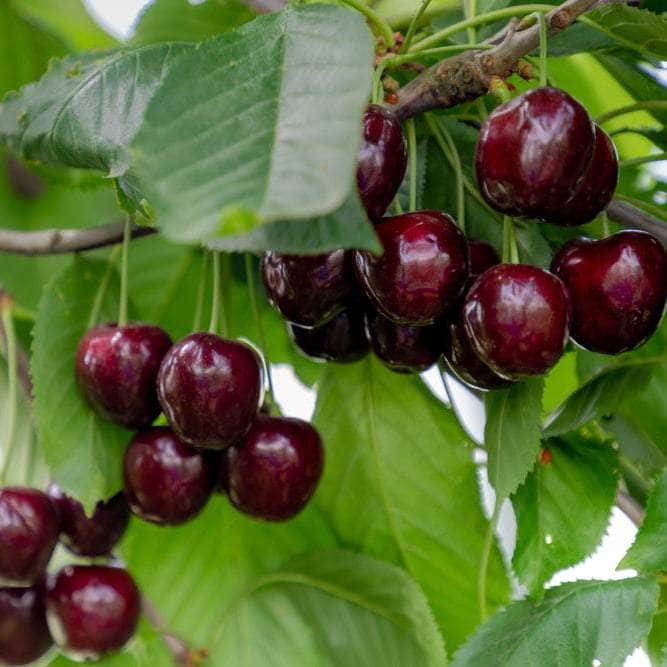
Unlike other fruit bushes, redcurrants have a certain vigour that makes them virtually unbeatable in their yield. A single mature plant can produce up to 3-4 kilograms of tasty, nutritious fruit each year. The berries are characterised by a deep red colour and soft texture when fully ripe, virtues that serve as markers for the enthusiastic master gardener.
Redcurrants play a unique role in the ecosystem as well, acting as an attractive feature in gardens and even inviting birds to partake in their bounty. Besides their unrivalled yield and beauty, these berries pack a punch when it comes to their culinary uses. From jams and jellies to syrups and pies, the redcurrant fits seamlessly into a variety of dishes, making it a coveted ingredient in many kitchens.
Redcurrants vs Blackcurrants: Spotting the Differences
Here's a detailed enumeration shedding light on the differences between Redcurrants and Blackcurrants:
Species: Despite being a part of the same Ribes genus, Red currants are distinct from Black currants. The species nomenclature underlines it: Red currants are Ribes rubrum, while Black currants fall under Ribes nigrum's realm.
Taste: Red currants fascinate with a tangy allure, while Black currants are esteemed for their sweeter profile.
Floral Display: The vibrant display of flowers differentiates their shrubs too. Red currant shrubs typically blossom with yellow-tinted flowers, while the blooms adorning Black currant shrubs exhibit an elegant white.
Growth Traits: The fruiting habits of these plants also vary. Red currants fruit on old wood, whereas Black currants produce berries on new offshoots.
Adaptability: Notably, Red currants can thrive in semi-shaded or damp conditions, demonstrating considerable adaptability.
This knowledge empowers master gardeners to identify and choose the cultivars that will grow more productively, meet desired taste preferences, and add an attractive feature to their gardens. Armed with this information, you can now decide whether the red berry of the vigorous Red currant cultivar or the more delicate Black currant would better suit your gardener calendar and palate.
How to Plant Redcurrants

Planting redcurrants is a rewarding endeavour that requires a bit of knowledge and preparation. This section will guide you through the process of how to plant red currants, ensuring that your plants thrive and produce a bountiful harvest.
Whether you're a seasoned gardener or a beginner, the process of planting redcurrants can be a delightful experience. From choosing the right time and location to preparing the soil and the actual planting process, each step is crucial to the success of your redcurrant plant. Let's delve into the details.
Choosing the Right Time and Location
Knowing when and where to plant your redcurrant plants is essential to nurture them towards growth and fruiting. Let's explore the best time to introduce these perky little plants into your garden and pick an optimum location for them.
Firstly, understand that the recommended planting period for redcurrant plants is late winter to early spring. This is the time when the plant is still in its dormant phase. If you decide to use container-grown plants, they can be planted at any time of the year, but the earlier timeframe ensures the best fruiting outcome.
Next, find the best spot in your garden. Redcurrant plants prefer an area that receives full sun to partial shade. It is a misconception that these plants require constant, intense sunlight. In fact, exposure to punishing noonday sun could potentially harm them.
Moreover, ensure that the selected spot isn't overly exposed to rigorous wind gusts to prevent the plant from being damaged. It's also a good idea to tie them to a strong stake for better stability, especially during the early stages of growth.
Preparing the Soil for Planting
The preparation of soil for planting your redcurrant plant demands attention to detail and a commitment to creating the right environment for growth. Ensuring that the earth is well-nourished is the first step in the planting journey. Take care to carry out this task when the earth is still damp, not dry, and easy to work with. You may need to water it generously post-cultivation, if the area was covered with vegetation for a significant amount of time.
Weeds can be the enemies of your newly planted red currants - aim to uproot them, all the way down to their stubborn roots. A clear, weed-free patch of land readies your garden for a successful planting season and reduces competition for essential nutrients once the planting season begins in late winter or early spring.
While a rich soil is key for the prosperity of your redcurrant plant, it's recommended to supplement the natural fertility of the soil with granular fertilisers. A simple 'NPK' fertiliser, or alternates like growmore, bonemeal, or blood, fish and bone, can work wonders. These bolster the earth and prep it for your red currants, further enhancing their chances of booming growth.
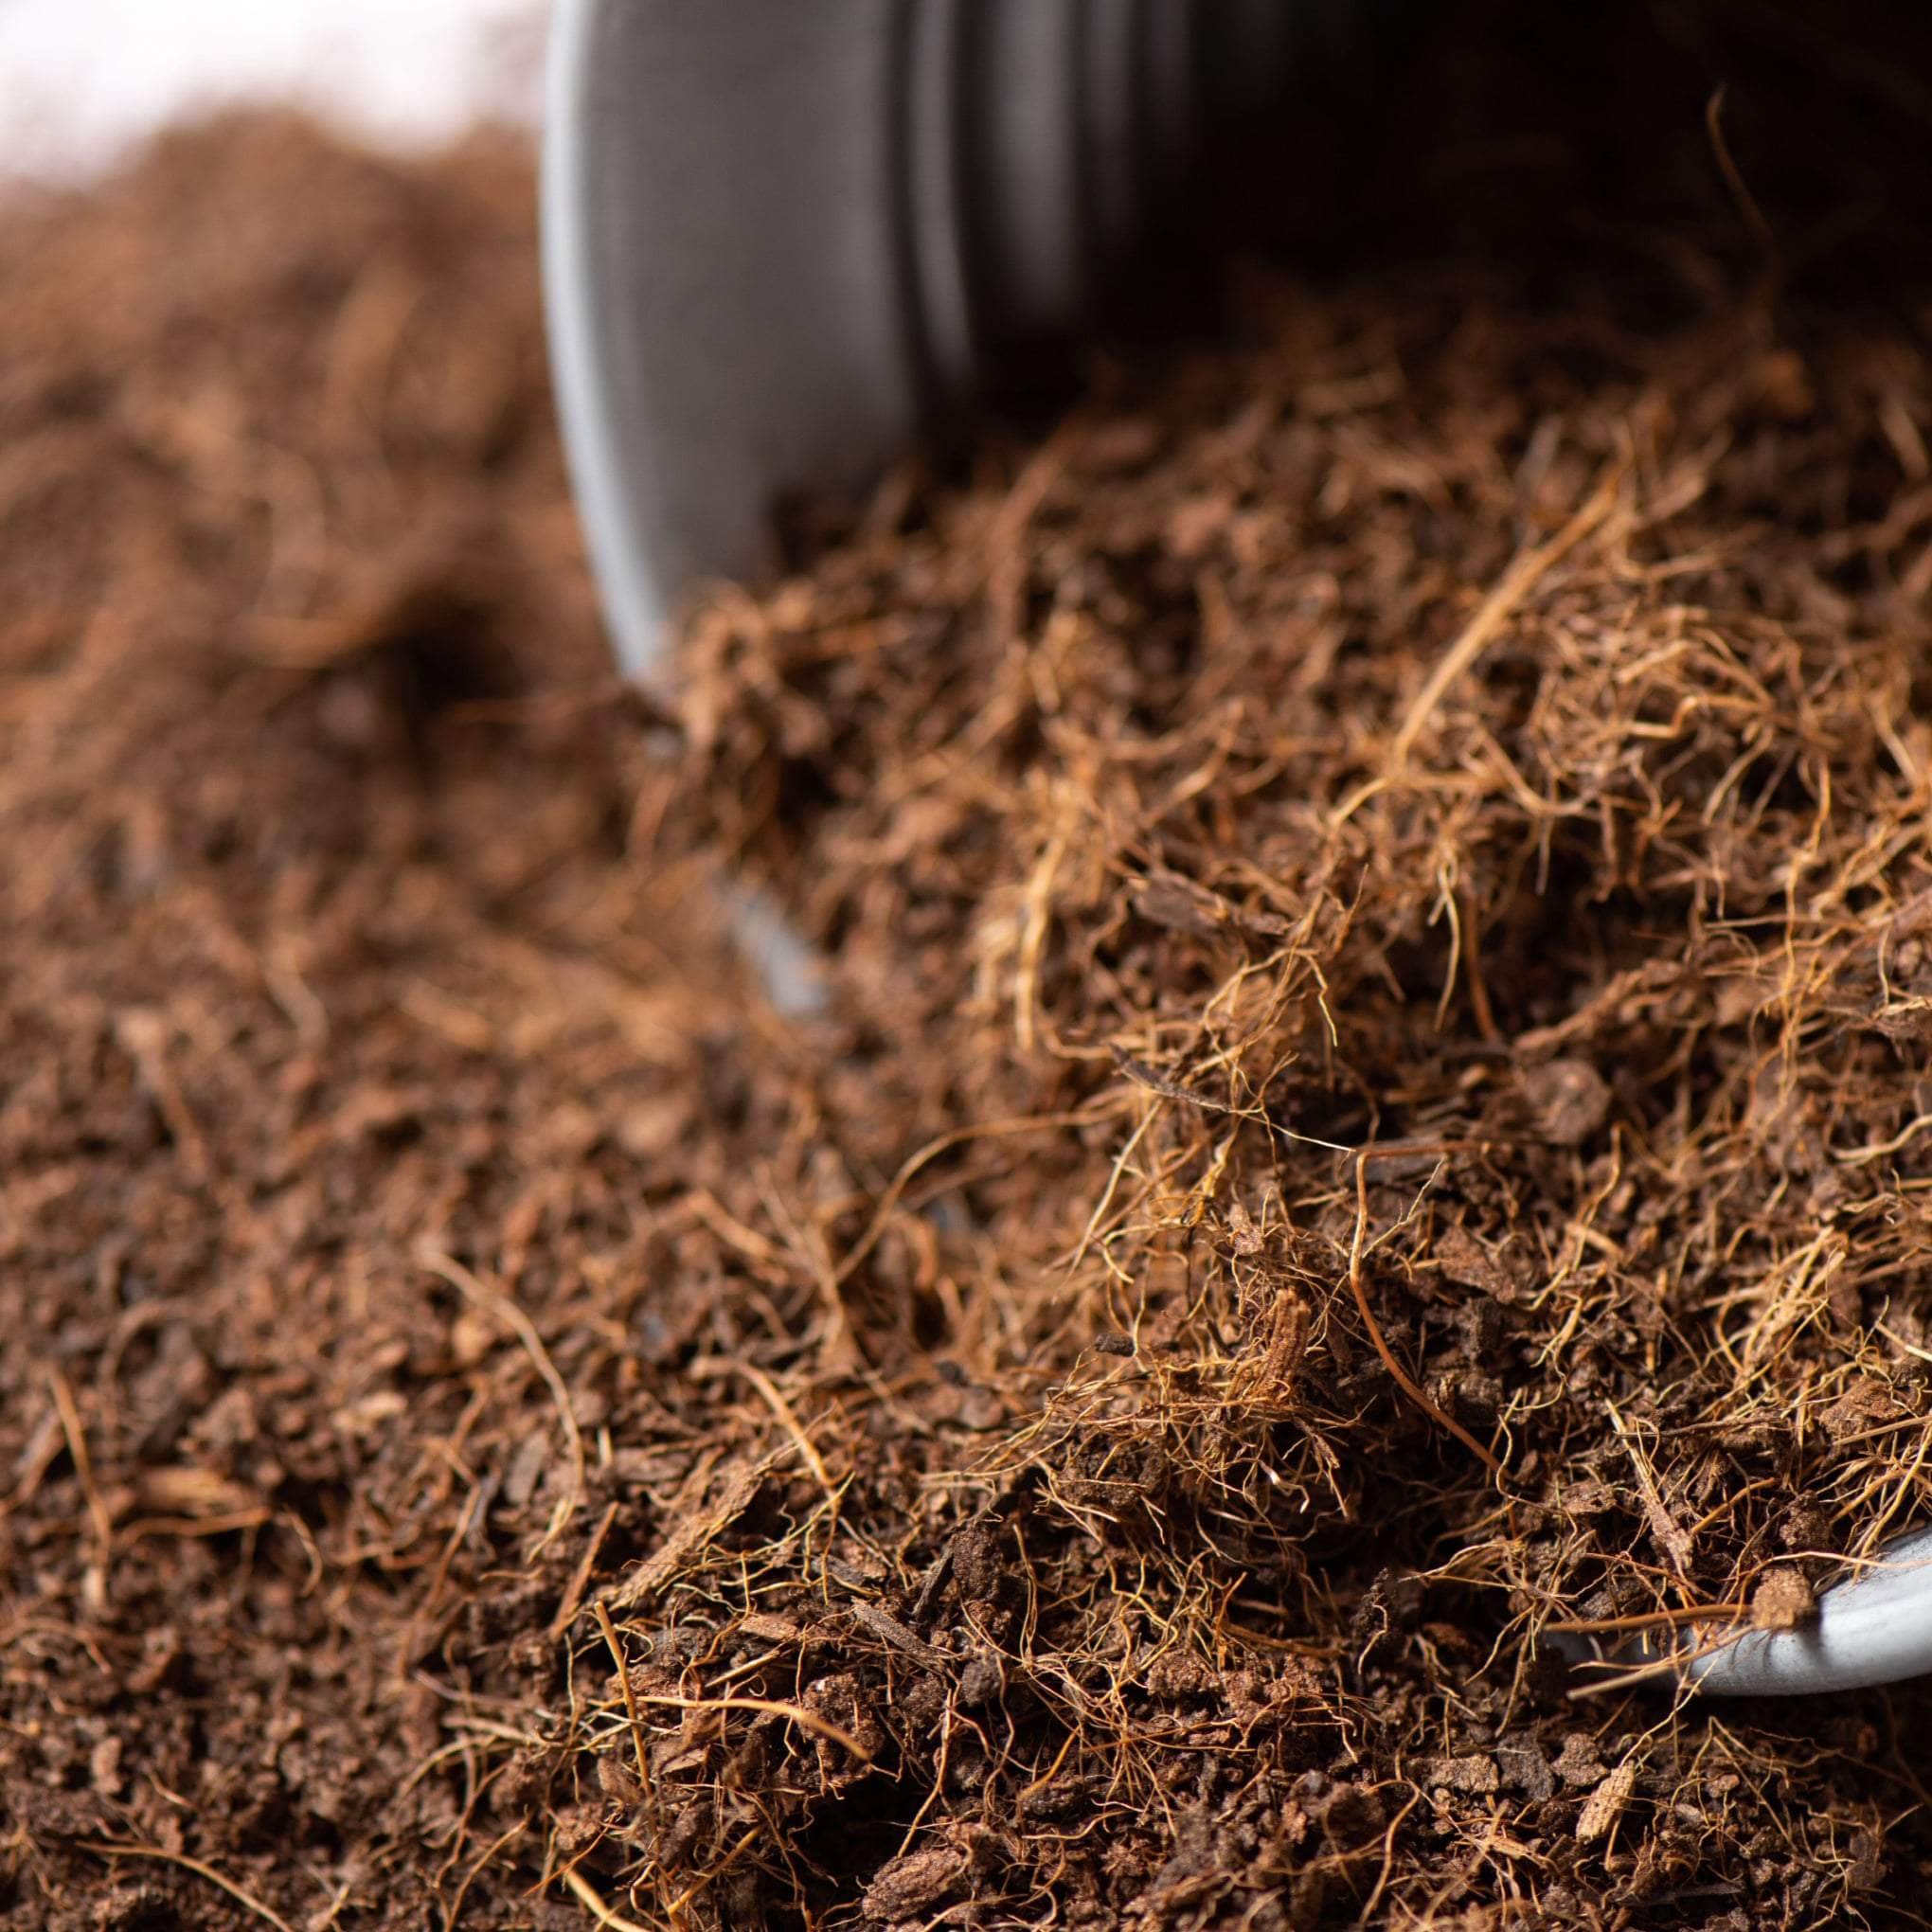
The soil type best suited for redcurrants is loamy, with a high concentration of organic matter like peat moss - thus ensuring water holding capacity and well-drained soil. The pH level should ideally sit within the range of 6.2 to 6.5, to facilitate healthy redcurrant growth.
Planting Process: Step-by-Step Guide
Here is how you successfully plant your redcurrant plant:
Identify Plant's Root Structure: Your plant will arrive bare-rooted from nursery, light in weight for easy handling. Roots will be contained in a polythene bag to stop them from drying. This bag must only be removed immediately before planting and must be soaked if dry.
Dig the Hole: Dig a hole big enough to accommodate the roots comfortably. Trying to squeeze them into a small hole could do more harm than good.
Secure the Plant: Plant your redcurrant bush at the same soil level as it was previously growing. This mark should be clearly identifiable on the stem. Firm down the soil around the plant post-planting.
Water the Plant: Douse the newly planted bush with water, then let the ground around it settle. Once settled, top up the planting area to match the rest of the surrounding ground.
Monitor Progress: After planting and watering, ensure that the plant is not sitting in a hollow space, as this could collect water over the winter period, which is not optimal for the health of your redcurrant plant.
Following these simple steps, your redcurrant bush should soon be settled nicely and ready to bloom come spring.
Redcurrant Care and Maintenance

Growing redcurrants can be a rewarding experience, especially when you see the fruits of your labour. However, to ensure a bountiful harvest, it's essential to understand the nuances of red currant care. This includes knowing how to protect your plants from late frost, maintaining good air circulation to prevent diseases like powdery mildew, and understanding the growth cycle to ensure your plants bear fruit in their second year.
Redcurrants have a shallow root system and require careful maintenance during their active growth period. This involves regular watering, fertilising, and summer pruning to encourage new growth. With the right care and attention, your redcurrants will thrive, providing you with a plentiful harvest year after year.
Watering and Fertilising Your Redcurrants
Caring for your redcurrants requires attention to their water and nourishment needs. These resilient plants, however, don't always demand a rigorous watering schedule. It's crucial during their inaugural spring and summer, especially if climate conditions lean towards the drier side. Although, once established, they can withstand longer dry spells.
On the other hand, those residing in containers necessitate more consistent watering throughout the growing season as the confined space spurs rapid evaporation. Be cautious of overwatering during the dormant winter months. Damp conditions can favour root rot, potentially devastating your redcurrants. An effective approach is to hoist the containers on pot feet or bricks, facilitating drainage and ensuring the longevity of the plant.
Fertilising your redcurrants is an essential part of their nurturing process. During early spring, an application of high potassium fertiliser to those in the ground boosts their growth. Vitax Q4 or blood, fish, and bone meal make excellent fertilisers for this purpose. Keep in mind to distribute around one and a half handfuls per square metre around the base.
In contrast, redcurrants in containers should receive a dose of general liquid fertiliser every fortnight from late winter to early spring. An additional high-potassium liquid feed during the flowering and fruiting summer season prompts lush and healthy growth. A top-up of fresh, peat-free potting compost and fertiliser granules in spring further aids in their development.
Do remember that, proper watering and fertilising are the stepping stones towards a healthy, fruit-bearing red currant bush.
Protecting Your Redcurrants from Pests and Diseases
Healthy and juicy redcurrants can become rather irresistible to pests, particularly during flowering and fruiting times. One of the most persistent nuisances are birds. Bullfinches, in particular, demonstrate adeptness at feasting on the developing buds during winter and picking off the ripening fruits come summer.
Utilising a barrier method to limit their access to your redcurrants is a commonly used strategy. Draping netting over the bushes or erecting a fruit cage provides a physical barricade to protect your precious harvest. It's advisable to implement these measures well before the fruits start to appear.
If a late frost is forecast during the flowering period, a temporary preventative measure could be used to protect your redcurrants from potential damage. Covering plants overnight with fleece or hessian, elevated on canes, and then removed in the morning allows the flowers to attract pollinators while providing protection from harsh temperatures.
Sawfly larvae and mildew, specifically powdery mildew, can pose potential threats to your redcurrants. The former can be controlled by regular leaf inspection from mid-spring with the aim of catching and removing any sawfly eggs before they hatch. Meanwhile, mildew can be mitigated by retaining soil moisture levels and applying a fungicide spray if necessary. Be vigilant, and your second-year growth should bear fruit without troubles!
Pruning and Training Your Redcurrants
First Summer Pruning: Once your redcurrants have settled into their new home, begin your first summer prune by shortening all new shoots they carry to just four or five leaves. This encourages the formation of fruiting spurs - the key to a bountiful harvest next year.
Winter Care: Winter is a crucial time for your redcurrants. Carefully prune back the new leader growth by half. Any side-shoots growing from the main branches also need a trim, reducing them down to about 5cm, paving the way for an abundance of fruiting spurs.
Pruning Older Plants: As your plant enters its third year and beyond, an annual prune becomes vital to maintain productivity. Prune to ground level all stems older than three years. Leave this year's branches untouched, but prune the side shoots of two-year-old main stems back to two buds from the main stem. This will bear fruit next year.
Monitor Pruning: Always keep an eye on your redcurrants while pruning. If any stems droop down and touch or nearly touch the ground, prune them out or shorten them.
Get The Shape Right: Regular pruning helps retain the desired shapes - open-centred bushes for maximum harvest, compact cordons for limited space. Don't forget to prune out weak or damaged stems to healthy wood. Regular pruning also aids robust air circulation, reducing the risk of powdery mildew, a common threat to redcurrants.
How to Grow Redcurrants in Pots

Growing redcurrants in pots is a rewarding endeavour that offers the joy of fresh, home-grown fruit even in limited spaces. This section will guide you through the process, from choosing the right pot and soil to planting and caring for your redcurrant plant.
Whether you're a seasoned gardener or a beginner, the tips and techniques shared here will help you establish a thriving red currant plant in a pot. With the right care, you can look forward to a heavy crop of these delicious berries. Let's delve into the details.
Choosing the Right Pot and Soil
Starting on the journey to grow red currants in pots? Your first vital step is selecting the right pot and soil. Size matters when it comes to pots. To achieve strong growth and bountiful production of red currants, opt for a pot with a minimum width and depth of 18 inches. Remember, red currant roots don't typically extend too deeply; hence a pot of this size will allow ample room for adequate root development.
The soil you choose is equally crucial in establishing your red currant plant. A well-draining soil with high organic matter is the goal. Organic potting mix blended with an all-purpose fertiliser works brilliantly for red currants. Keep the soil consistently moist but avoid waterlogging as this could do more harm than good to your plant.
If you find your plants planted in sandy soil that heats up excessively in hot weather, consider amending it with organic matter and shielding it with two to three inches of mulch. This helps retain moisture and keeps your currants happily growing in their pots.
In a nutshell, the right pot and optimal soil conditions serve as the cornerstone of successful red currant growth in pots. Stick to these guidelines, and you're paving the way for a heavy crop of delicious red currants. The fruit of your hard work is going to be worth the effort!
Planting and Caring for Potted Redcurrants
Attention to the little details can make a massive difference in your red currant plant’s health and productivity!
Harvesting and Using Your Redcurrants

In this section, we delve into the rewarding part of growing redcurrants - the harvest. After all the hard work of planting, nurturing, and protecting your redcurrant plants, it's finally time to enjoy the fruits of your labour. Harvesting and using your redcurrants is a process that requires a bit of knowledge and finesse to ensure you get the most out of your crop.
We'll guide you through the best practices for harvesting your redcurrants, from the perfect timing to the right technique. We'll also share some tips on how to store and use your freshly picked currants, whether you're planning to enjoy them fresh, freeze them for later, or transform them into delicious jams and jellies. Let's dive in and learn how to make the most of your redcurrant harvest.
When and How to Harvest Redcurrants
With the initial stages of planting and caring for your redcurrant plants behind you, it's time to reap the fruits of your labour. However, when it comes to harvesting redcurrants, timing is everything. Your redcurrant bush will typically be ready for harvesting earlier than other fruits, usually from July onwards in the UK.
The key to harvesting is to look for glossy, deeply coloured currants that remain firm to the touch - a sure sign they're ripe and ready. Avoid waiting too long as the berries can lose their charm and taste if they become dull. Moreover, not all berries ripen simultaneously, requiring 2-3 sessions of picking over several weeks.
Instead of plucking individual berries, which can result in a messy affair due to the delicate nature of the currants, trim the whole truss or cluster. Use sharp scissors for a clean cut – tip: this activity can be therapeutic, allowing you to connect closely with nature.
Ultimately, the harvesting process closely relates to how you aim to use the berries. For all intents and purposes, wait until the fruits are at optimum ripeness. But if your endgame is to make jelly, consider a slightly under-ripe harvest, as these currants are rich in pectin, crucial for the setting process of your jelly.
Storing and Using Your Redcurrants
Store them fresh: After washing, store your harvested redcurrants in the fridge. They should last for a couple of days.
Freeze for later use: You may also choose to freeze them in bags for later use. Be sure to remove any damaged or overripe fruit first.
Prepare breakfast cereals and porridge: A handful of these fruits adds a hint of tartness to your breakfast cereal or porridge. Frozen or fresh, either way will do.
Make delicious jams and jellies: Redcurrants are rich in pectin, making them ideal for producing jams and jellies. A zesty spoonful on freshly-baked bread is pure bliss.
The way you store and use your redcurrants can significantly affect their taste and texture. So, make sure to follow these suggestions for the best results.
Propagating Redcurrants

Growing your own redcurrant plants can be a rewarding experience, especially when you propagate them yourself. Propagation is a cost-effective way to increase your redcurrant collection and enjoy a bountiful harvest year after year.
In this section, we will delve into the fascinating world of redcurrant propagation. We'll explore different methods and provide a step-by-step guide to help you successfully propagate your redcurrant plants. Whether you're a seasoned gardener or a beginner, you'll find this guide helpful in your gardening journey.
Methods of Propagating Redcurrants
Tip Layering: This method involves placing the tip of a cane in the soil, covering it with soil, and securing it with a rock or brick. Within a year, it develops roots and can be separated from the mother plant.
Stem Cuttings: This approach requires taking a 9 to 11-inch length of the stem from the previous year's growth. The stem is then prepared by keeping 3 to 4 buds at the top, removing additional buds, and scraping the bottom of the stem to enhance root formation.
Growing from Seed: Although less common, it's also possible to propagate red currant plants from seeds. This process is lengthier and may require stratification for successful germination.
Division: In some cases, mature red currant plants can be gently divided and replanted, ensuring that each segment has ample roots for reestablishment.
Each of these methods offer ways to propagate red currants, providing home growers with multiple options to expand their currant plant collection.
Step-by-Step Guide to Propagating Redcurrants from Cuttings
Cultivating your own red currant plant from cuttings is not only pleasingly practical but also uniquely satisfying. It requires a small amount of effort and the rewards are simply gratifying. Here's a step-by-step guide on how to professionally propagate red currants from cuttings.
Firstly, timing is crucial. The recommended timeframe to achieve the best results is around the third week of October. Your chosen stem should be a two-year-old main stem with a side stem that has shown vigorous growth in the current year. Precise observation and selection of the stem edges us closer to success.
Next, carefully trim off the end just below a bud, ensuring that the final stem length is between 6 to 8 inches. This is an essential step to encourage healthy sprouting later on.
The preparatory work is just as important. Ready a well-dug area in your garden and create a hole of approximately 4 to 5 inches deep. Position the cutting into the hole, covering roughly half its length with soil. Adequate soil firmness and good watering are key aspects to ensure optimal stem stability.
The resulting success rate with this propagation method is quite impressive. By the arrival of summer, signs of leaf sprouting should be evident, signalling your accomplishments. By the time October swings back around, your red currant cuttings will be ready to grace their permanent residence in your garden. Experience the joy of nurturing your own red currant bush from cuttings, with a gratifying success rate of up to 75%.
Creating an idyllic space bursting with red currants isn’t just a dream. With these simple propagation steps, the reality is at your green fingertips.
Final Thoughts on Growing Redcurrants

In conclusion, redcurrants are a rewarding addition to any garden, offering both aesthetic appeal and a bountiful harvest. Their adaptability to various conditions, from full sun to partial shade, and their resilience against late frost make them a gardener's delight.
With proper care, these plants can produce heavy crops of berries for up to 20 years, making them a long-term investment for your garden.
The key to successful redcurrant cultivation lies in understanding their needs and meeting them. From the initial planting in early spring to the careful pruning for new growth, every step contributes to the overall health and productivity of your redcurrant plants.
Remember, these plants thrive in well-drained soil enriched with organic matter, and they require regular watering and protection from pests like the currant blister aphid.
Whether you're a master gardener or a beginner, growing redcurrants can be a fulfilling experience. So why not give it a try?
With patience and care, you'll soon be enjoying the fruits of your labour - quite literally!