


The Comprehensive Guide to Growing Pear Trees at Home
Welcome to our comprehensive guide to growing pear trees at home. If you've ever dreamt of biting into a succulent, home-grown pear in the late summer sun, you're in the right place. From understanding the basics of the pear tree genus, Pyrus Communis, to the joy of harvesting your own fruit, we've got you covered.
Whether you're a seasoned gardener or a green-fingered novice, our guide is packed with practical advice and fun facts to help you care for your pear tree with success. We'll delve into the different pear varieties, the ideal soil types, and the importance of full sun exposure. We'll also guide you through the planting process, from early spring to late autumn, and provide tips on how to prune your tree for maximum fruit production.
So, whether you're planting in a fruit garden or a compact container, our guide will provide you with all the information you need to turn your planting ideas into a dream garden.
Let's embark on this exciting journey together, and before you know it, you'll be savouring the sweet taste of your own harvest.
Understanding Pyrus Communis: An Introduction to Pear Trees

Diving into the world of pear trees, or Pyrus Communis, is a journey of discovery. This tree genus, known for its fruit-bearing prowess, offers a plethora of varieties to suit every gardener's needs. Whether you're a seasoned horticulturist or a beginner looking to add a fruit tree to your garden, understanding Pyrus Communis is a crucial first step.
Pear trees are not just about the fruit; they're about the entire experience. From the beautiful blossoms that adorn the tree in spring to the anticipation of a bountiful harvest, every stage of growth brings its own joy. Let's embark on this journey together, exploring the fascinating world of pear trees.
The Basics of Pyrus Communis
Pyrus Communis, more popularly known as the pear tree, is a robust addition to any fruit garden. This distinct tree genus provides a beautifully elegant landscape feature throughout the year. Apart from its striking visual appeal, the pear tree is highly sought after for its bountiful fruit harvest.
Embedded in the tradition and folklore of many cultures, the pear tree has graced our tables for centuries. It belongs to the large Rosaceae family, known for their splendid fruit-bearers and decorative plants, making the pear tree a remarkable representative of a fruit-bearing plant type.
The unique charm of the pear tree lies not just in the luscious fruit it bears but also in its enticing blossoms. These blossoms, coated in hues of white and pink, usually grace the tree during early spring, converting your garden into a painter's canvass.
Peculiarly, pear trees are not grown on their own roots due to their expansive growth. They could reach heights up to 6m (20ft), making them an unsuitable choice for small gardens. However, the ingenuity of horticulture allows the pear tree variety to be grafted onto quince roots. This collection of roots, commonly referred to as the rootstock, dictates the vigour and ultimate size of the pear tree.
Fascinatingly, Pyrus Communis presents an entire spectrum of pear varieties. Certain types are earmarked for desserts, gracing our sweets with their spectacular flavour. Simultaneously, some varieties are more suited for cooking applications, adding that unique crunch and sweetness to our culinary endeavours.
Understanding the basics of Pyrus Communis is the initial step towards abundant harvests of delicious pears right in your backyard. Start with the right information, make informed choices, and let your garden flourish.
Different Varieties of Pear Trees
Here is a list of some popular pear tree varieties that you may want to consider for your home garden:
Bosc: Originating from France, Bosc pear trees are renowned for their crisp, juicy, and aromatic fruits. They're also a favourite among bakers due to their firm flesh that holds up well when cooked.
Anjou: Notable for their short, squat shape and vibrant green skin, Anjou pears are all-rounders. They are just as perfect for eating fresh off the tree as they are for cooking and baking.
Bartlett: Known in the UK as 'Williams', Bartlett pears are perhaps the most common type of pear tree found across Europe and the United States. They're celebrated for their classic pear flavour and versatility.
Kieffer: Hybrid of Bartlett and Asian pears, Kieffer pears are hardy trees that are resistant to many common pear diseases. The luscious fruit is perfect for canning and baking.
Eden's Gem: A flavourful early variety producing small, sweet, aromatic fruits with firm, juicy flesh.
Moonglow: This is a variety bred with disease resistance in mind and is known for producing large, sweet, and juicy fruits.
Red Sensation Bartlett: A variant of the traditional Bartlett variety, these pear trees yield remarkable, deep red-skinned fruits that are equally as flavoursome as their green counterparts.
Harrow Sweet: Bred for resistance against fire blight, Harrow Sweet pear trees flourish in cold climates. They produce sweet, juicy pears that are a treat to eat right off the tree.
Comice: Often described as the sweetest, juiciest pear you can grow, Comice pears are ideal for eating out of hand or pairing with cheese.
With each pear variety offering unique characteristics, flavours, and growth habits, they each bring something distinct to your garden and your palate. Picking the right pear tree is all about your personal taste and the specifics of your garden's conditions. Consider your climate, soil type, and how you'd like to use your pears before selecting a variety. Happy planting!
Getting Started: Planting Your Pear Tree

Embarking on the journey of planting your pear tree is an exciting venture. This section, "Getting Started: Planting Your Pear Tree", will guide you through the initial steps of this process. From choosing the perfect location to understanding the soil requirements and finally, the actual planting process, we've got you covered.
Remember, the key to a successful planting lies in the preparation. So, let's dive in and get your hands dirty with some planting ideas. Whether you're a seasoned gardener or a beginner, this guide will provide you with the necessary knowledge to plant your pear tree and watch it flourish under the full sun.
Choosing the Right Location for Your Pear Tree
Selecting the correct location to plant your pear tree is an essential primary step towards successful tree growth and yield. The crucial factors to consider in this regard are sunlight and space.
Pear trees thrive in full sun, needing a minimum of six hours a day to produce fruit that is sweet and succulent. Therefore, your chosen spot should be an open site, such as in a lawn, or trained against a south-facing wall or fence.
Keep in mind that the bespoken tree spot should be far from any structures or other trees that might block the sun rays or limit tree growth.
In terms of space, pear trees, especially if you plan to grow more than one for cross-pollination, need adequate room for growth. A standard pear tree requires at least twenty feet of space, while semi-dwarf and dwarf variants require twelve and eight feet respectively.
Understanding Soil Requirements for Pear Trees
The success of your endeavour to grow a pear tree at home heavily hinges on understanding the soil requirements. With an optimal soil type and conditioning, you'll help your pear tree flourish, bearing healthier and larger fruits.
Pear trees thrive best in a slightly acidic soil with a pH level from 6.0 to 6.5. If your soil isn’t naturally acidic, not to fret - it can easily be modified using soil amendments to create the ideal environment for your tree.
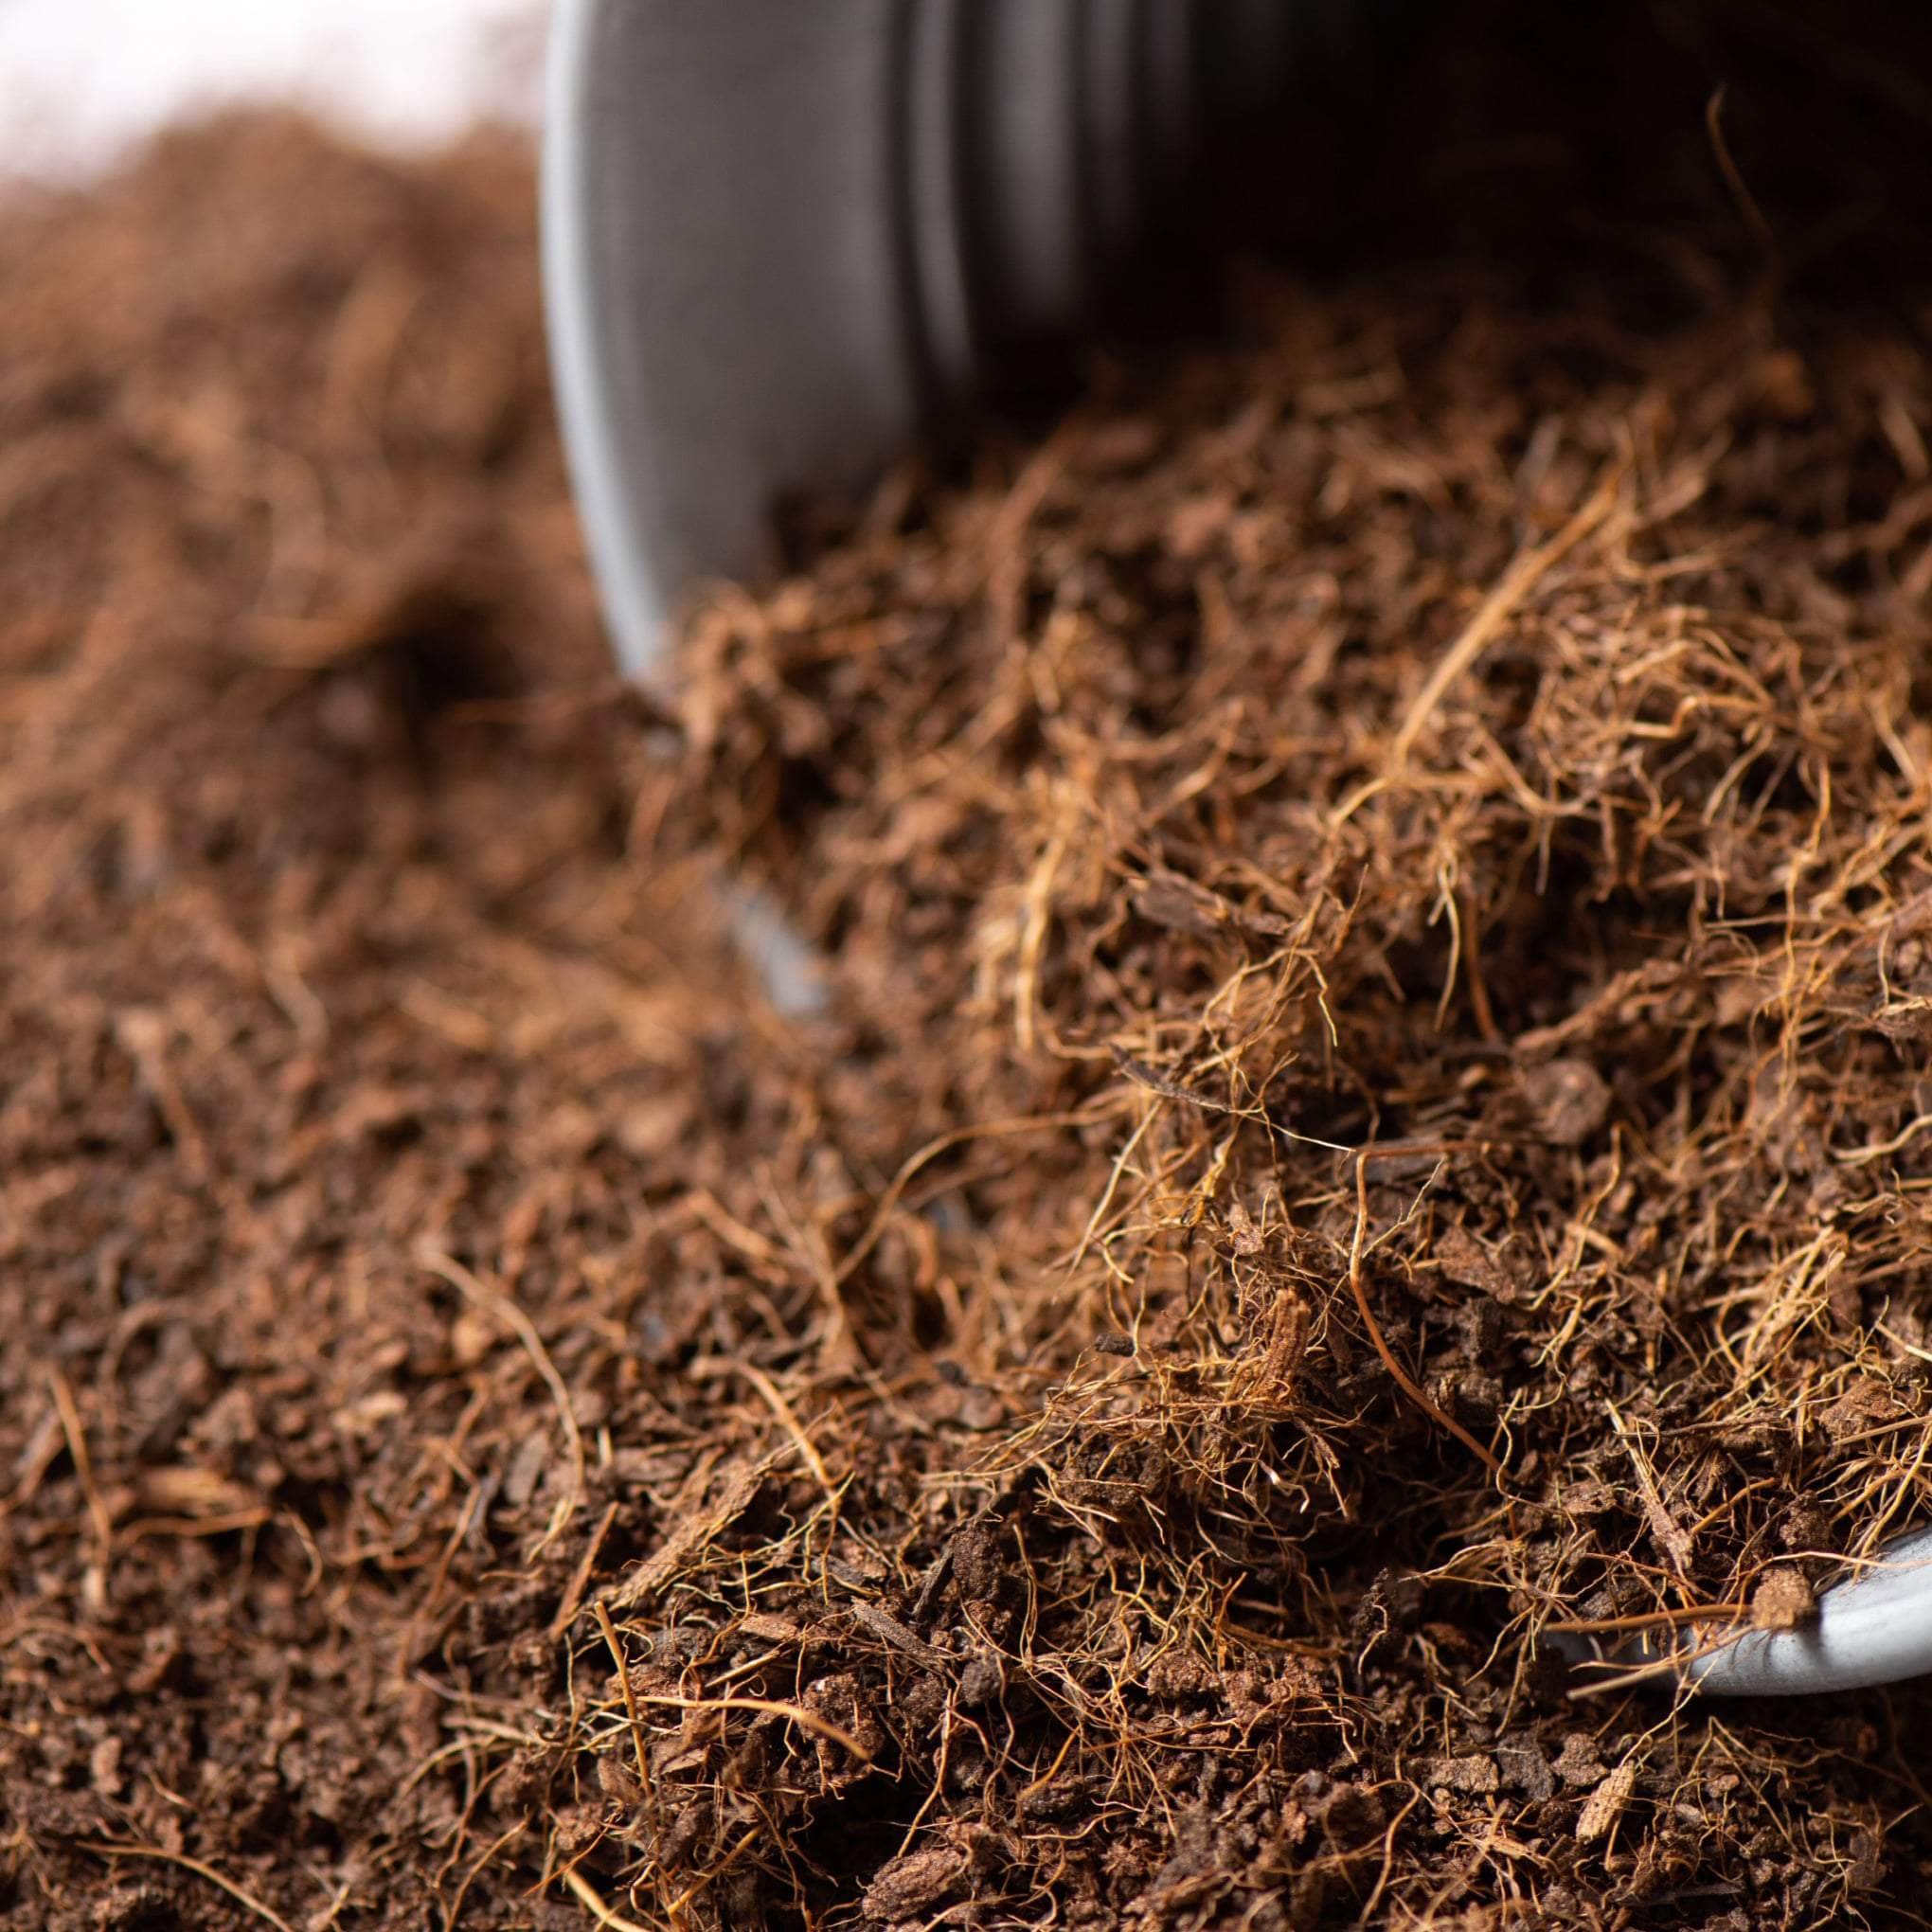
The soil type also plays a vital role in the growth dynamics of your pear tree. Clay loam sand soil rich in organic matter, is most conducive for pear trees. This alkaline neutral soil type strikes the right balance between water retention and drainage, which is important to optimise the hydration for your pear tree while preventing waterlogging.
Soil drainage is another factor to pay attention to. Pear trees prefer well-drained soil where water doesn't stand for very long. If your chosen plant tree spot tends to hold water, you might want to think about amending the neutral soil with organic matter or sand to improve its drainage.
In a nutshell, paying attention to the soil's pH, type, and drainage is key in the successful cultivation of a pear tree. With this knowledge in your arsenal and some simple soil testing and amending, you can prime your garden for your future pear-bearing beauty.
The Planting Process: A Step-by-Step Guide
When it comes to the planting process, it's always best to have a clear plan in your mind to ensure the best possible outcome. With an optimal location and soil type at your disposal, the actual activity of planting your pear tree is what follows next. Here's a step-by-step guide for you:
Get your tree ready: If your tree is currently housed in a container, start by giving it a thorough watering. Bare-root trees, on the other hand, should be stood in a bucket of water for about 30 minutes.
Prepare the ground: Remove a circle of grass with a minimum diameter of 1 m where you plan to plant the tree. This step ensures that the tree's roots won't have to fight for rainwater and nutrients with the grass around it.
Dig a hole: The hole should match the depth of your plant's root structure. If you have a bare-root tree, make sure to accommodate the entire root structure without bending or damaging it.
Place the tree: Carefully position your pear tree in the hole, ensuring that you have spread out its roots without bending them excessively.
Fill and firm the hole: Next, fill the hole with a mix of soil and compost. As you fill, gently shake your sapling to help the soil get inside the root system. Once the hole is filled, tamp the soil with your shoe’s heel to remove air pockets while ensuring a stable base for your tree.
Top layer and Water: Finally, add a layer of mulch around your tree for moisture retention and weed deterrence, but make sure it doesn't touch the tree trunk to avoid rotting. Thoroughly water the newly planted tree to help it adapt to its new environment.
Taking the time to follow each step of the planting process will ensure that your tree has the best possible chance of growing successfully. As the old saying goes, "do it once, do it right".
Caring for Your Pear Trees: A Seasonal Guide

Caring for your pear trees is a year-round commitment, but it doesn't have to be a daunting task. With a little knowledge and a few simple steps, you can ensure your trees thrive in every season. From the early spring blossoms to the late autumn harvest, each season brings its own set of tasks and considerations.
In this guide, we'll walk you through the seasonal care for pear trees, providing you with practical tips and advice to keep your trees healthy and productive. Whether you're a seasoned gardener or a beginner, this guide will equip you with the knowledge you need to care for your pear trees throughout the year.
Spring Care for Pear Trees
Spring is a crucial period for caring for pear trees, marking the commencement of a new growing season. It's a time when these trees awaken from their winter slumber and start developing new shoots, leaves, and blossoms. Therefore, a little extra attention during this time can lead to a healthier tree and a more bountiful harvest.
Early spring is an excellent time to prune your pear trees. Pruning entails removing any dead or diseased branches, shaping the tree for better sunlight penetration and air circulation, and promoting healthier, more productive growth. It's important to note, however, that pear trees don't require heavy pruning. Just focus on removing those branches that are diseased or overlapping to ensure good tree health.
Spring is also a good time to apply compost or organic fertilisers at the base of the tree to replenish the nutrient content of the soil. While pear trees are not as demanding in terms of nutrients, they still benefit from a gentle boost in spring.
When adding compost, make sure to spread it around the bottom of the tree, but keep it away from the trunk to avoid potential rotting.
Newly planted or young trees require special attention in spring terms of consistent watering. Ensure the soil is moist but not waterlogged. Additionally, mulch can be added around the base of the tree to help retain moisture, suppress weeds, and maintain soil temperature levels.
Resourceful spring care is a significant step towards ensuring a healthy and productive pear tree.
Summer Care for Pear Trees
As the summer heat settles in, your focus shifts to the well-being of your pear trees. Pear trees are incredibly sturdy but they would appreciate a few nurturing touches from you in the scorching months of the year.
During summer, the key caring practice for pear trees is the efficient management of water resources. With higher temperatures and drier conditions, providing your trees ample water is important. Water them deeply, particularly around the base of the tree, as shallow and frequent watering encourages the roots to develop near the surface which could be detrimental to the tree's long-time health.
Simultaneously, a layer of mulch around the tree will assist in keeping the soil moist by reducing surface evaporation. Besides keeping the soil cool and moist, mulch also prevents weed growth which could compete with your tree for nutrients and water. However, make sure the mulch does not come into direct contact with the trunk to avoid fungal issues and rot.
In summer, it's also time to inspect your trees for potential pest infestations or disease symptoms. Regular inspection at the early stages can protect your tree from extensive damage. If you notice anything concerning, don't hesitate to consult with a local extension service or a trusted garden centre.
Mid late summer is also an ideal time to apply compost. The nutrients provided by the compost get absorbed by the roots throughout the autumn, gearing them up for the next growing season.
Finally, if you have a young tree, giving it some overarching shade during peak afternoon heat can prevent sun scald.
Keep a keen eye on these summer caring practices and your pear trees will surely thank you by providing delicious and bountiful fruits year after year.
Autumn Care for Pear Trees
Autumn signals the end of the growing season, and this time is crucial for the proper caring for your pear trees. As cooler weather sets in, your trees begin preparing for dormancy. While this is a less active growth period, certain tasks can ensure the health and vitality of your trees for the coming spring.
Begin by inspecting your pear trees for any signs of disease or pests. Autumn's cooler temperatures may encourage some pests to seek shelter, so vigilance is key. Remove any fallen fruit and fallen leaves, as these can harbour pests and diseases that can carry through to the next season. Proper sanitation reduces the risk of disease and discourages pests from using your garden as a winter haven.
As autumn progresses, halt any further fertilisation. Your pear trees are entering a less active phase, and feeding them can force a flush of vulnerable new growth.
Towards late autumn, it is also advisable to apply compost or a layer of mulch around the base of the tree. This serves as a blanket, protecting the tree roots from the harsh winter cold. The compost or mulch also slowly breaks down, providing a steady source of nutrients that boost the tree's health for the coming growth season.
Finally, refrain from a full prune of your tree during autumn. While it may be tempting to tidy the tree, autumn pruning can result in less winter hardiness. Pruning is best saved for later in winter when the tree is fully dormant.
These autumn care steps, if executed properly, aid your pear trees in smoothly transitioning from an active growth phase to a dormant one, promoting their overall health and productivity for the following seasons.
Winter Care for Pear Trees
As the winter chill descends, your pear trees hunker down for a period of rest. Despite their dormant appearance, this period is crucial in their yearly life cycle, providing them with an opportunity to rejuvenate and prepare for the new growing season of spring.
One of the key tasks during winter is pruning. Pruning should ideally take place when the trees are dormant, which for pear trees in the UK, falls between late November and March, before buds start to form. This task improves the overall health of the tree, by discarding diseased or dead branches.
Proper pruning isn't merely a matter of removing branches at random. Choose branches that are crossed or are growing too vertical. This will improve air circulation and encourage better growth and yield in future seasons.
Your pear trees also need protection from the harsh winter elements. Consider wrapping the trunk of young trees with tree guards to protect against snow, wind, and animal damage. Remember, pear trees are susceptible to winter sunscald and such measures help to prevent it.
Finally, ensure that a thick layer of organic mulch like garden compost is applied to the base of the tree. This will help to protect the roots from freezing conditions and nourish your trees, necessary for spring growth.
While caring for pear trees in winter may seem intimidating, these steps need only be followed with discipline and you will reap the rewards when your trees start blossoming in spring. Trust me, a little winter care goes a long way!
Understanding Pear Tree Diseases and How to Prevent Them

Pear trees, with their lush foliage and succulent fruits, can be a delightful addition to any garden. However, like any other plant, they are susceptible to a variety of diseases that can hinder their growth and fruit production. Understanding these diseases and knowing how to prevent them is crucial for the successful cultivation of pear trees.
In this section, we will delve into the common diseases that affect pear trees and provide you with comprehensive guide information on how to prevent and treat them. This knowledge will equip you with the tools you need to care for your pear trees with success, ensuring a vibrant garden filled with healthy, fruit-bearing trees.
Common Diseases in Pear Trees
Pear trees, or Pyrus communis, are beautiful additions to any garden. However, they are susceptible to a variety of diseases that could threaten their health and impede fruit production. Being aware of these diseases can help you take effective measures to guard your vibrant garden against these threats. Below are the most common diseases observed in pear trees:
Pear Rust: An infection characterised by the presence of orange blotches on leaves and occasionally, canker-like patches on branches.
Fire Blight: A major disease in regions such as Minnesota, fire blight is identified by shoots that curl down at their ends, resembling a shepherd's hook. The disease can cause leaves to wither and turn brown.
Scab: Especially prevalent in apple and pear trees, this fungal disease causes olive-green patches on leaves which later turn into dark, scaly lesions.
Blossom Wilt: Usually affecting blossoms and young shoots, this fungus causes flowers to wilt and darken, ultimately leading to fruit decay.
Pear Leaf Blister Mite: Tiny mites that cause leaves to blister and curl, reducing the vitality of the tree.
Brown Rot: This fungus infects the fruit, turning it brown, before spreading to nearby branches and blossoms.
Being aware of these diseases is the first step to successful care of your pear trees. In the following section, we'll discuss prevention and treatment strategies for these common afflictions.
Preventing and Treating Pear Tree Diseases
The key to a vibrant garden is keeping a close eye on your pear trees (Pyrus communis) for any signs of disease. There are a few steps to take towards the prevention and treatment of diseases specific to pear trees.
Avoid Over-Fertilisation: Too much nitrogen fertiliser, including garden compost, can cause fast new growth that is very susceptible to fire blight. To minimise this, don't over-fertilise, and don't let young shoots grow more than three feet in varieties of susceptible pears.
Promptly Remove Suckers: Water sprouts or suckers should be removed promptly on susceptible varieties. This simple action can prevent the spread of diseases.
Timely Pruning: Do not prune while the tree is in bloom and up to two weeks after blooming. If your pear tree is exhibiting symptoms of fire blight, prune diseased shoots immediately cutting at least 6 inches below where you see discoloured bark. This creates a healthier environment for your tree and ensures that the diseases do not spread further.
Sanitise Pruning Equipment: After each cut, disinfect pruning tools in a mixture of 1 part water to 3 parts denatured alcohol or a mixture of 1 part chlorine bleach to 9 parts water. A cleaner environment, both outdoors and within your equipment, can prevent the spread and recurrence of diseases.
Open Canopies: Bacteria like warm, humid environments, so keep trees pruned and the tree canopy open to allow air to reach all leaves so they dry quickly after rain. This effectively deprives the bacteria of their preferred living environments.
** Choose the Right Cultivar:** Often, the easiest way to prevent diseases is choosing a different cultivar that is resistant to diseases common in your specific region. The choice of cultivar is a deciding factor in the success of your pear tree care efforts. Don't be afraid to consult your local garden centre or extension service for advice on which cultivar to plant. After all, prevention is better than cure!
By following this guide closely, you can ensure the success of your pear tree cultivation while avoiding common pitfalls.
Harvesting Your Pears: When and How

Harvesting your home-grown pears is a delicate art that requires a keen understanding of timing and technique. This section will guide you through the process, ensuring that you reap the fruits of your labour at the perfect moment. The joy of biting into a juicy, sweet pear that you've grown yourself is unparalleled, and we're here to help you achieve that.
The process of harvesting pears is unique, and it's essential to get it right to enjoy the best flavour and texture. Whether you're growing an early variety or a late one, knowing when and how to harvest your pears can make all the difference. So, let's delve into the world of pear harvesting and discover how to make the most of your home orchard during the harvest season.
Understanding the Right Time to Harvest Pears
The process of growing pears at home isn't fully complete without knowing the best time to harvest them. Remember, timing can make or break the flavour and texture of your pears. The majority of the pear varieties begin to bear fruit from late summer, depending on the climate and pear variety. Uniquely, pears take an 'early to bed, early to rise' approach. They're one of the first fruits to ripen, often in mid-late summer.
Here is a crucial tip: don't make the novice mistake of letting your pears ripen on the tree. Contrary to common knowledge, a pear that ripens on the tree becomes gritty and unpleasant. The perfect pear isn't too soft, but instead has a firm texture that indicates it is mature yet unripe. This is the perfect stage to remove it from the tree.
To assess the readiness of your pears for harvest, monitor their colour. This is an art as well as science. Most young pear fruits possess a dark green colour and start to lighten towards yellow as they mature. This change in hue is nature's subtle signal that your pears are edging closer to the end of their tree-life journey and are entering the next stage, where they will ripen off the tree.
How to Harvest Pears
Harvesting pears from your home orchard needs a special approach, differing from other fruits. Ensuring your pears' sweet, juicy perfection involves understanding the correct way to pick them from the tree. Whatever variety you have planted in your home garden, it is crucial not to wait until the pears ripen on the tree.
Pear growers often suggest that the best time to pick the fruit is when it's mature but still firm. This is because a pear allowed to ripen on the tree tends to become gritty and unpleasant. To determine if your pears are ready for the harvest season, check for a change in colour. Often in mid-late summer, the skin of young pear fruit turns from deep green to a lighter shade, showcasing maturity.
Extending into the actual act of harvesting, consider this a gentle process of picking, not plucking your home-grown pears. Gently cup the pear in the palm of your hand and twist lightly in one smooth motion. Yanking or pulling forcefully may damage the spur, affecting next year's flower buds.
Upon harvesting, quickly place your produce in a perforated plastic bag or a loosely covered container and refrigerate them. Given suitable conditions, your pears will ripen to perfection, right in the confines of your home. This unique method ensures that you can savour the perfection of your home-grown pears through the late summer, making the entire process of growing pears at home incredibly rewarding.
Fun Facts About Pear Trees

Pear trees, or Pyrus communis 'Sensation', are a fascinating addition to any garden. Not only do they provide delicious fruit, but they also have a rich history and unique characteristics that make them stand out. In this section, we'll delve into some facts about pear trees that will make you appreciate them even more.
From their resilience and love for the sun to their versatility in shape and size, pear trees are truly a dream for any gardener. Whether you're planning a summer garden or looking for a fruit tree that can be harvested in mid to late autumn, pear trees are an excellent choice. Let's explore these interesting trivia about pear trees.
Interesting Pear Tree Trivia
Ancient & Resilient: Pear trees, or scientifically known as Pyrus communis 'Sensation', are among the longest-lived fruit trees that are common not only in American but also European markets.
Sun Lover: A fun fact every keen gardener should know is that these trees thrive with an exposure to full sun. Perfect for that dream summer garden!
All Shapes and Sizes: Interestingly, pear trees can be trained into a variety of forms such as pyramid cones or horizontal cordon to suit your garden space.
Different Colours: Their fruits may wear different skins - it could be yellow, red, brown, russeted, or even smooth.
Late Autumn Harvest: Pear trees will not ripen outdoors. They are typically harvested between mid to late autumn and ripened indoors.
Different Varieties: Over thousands of pear cultivars exist out there, serving different purposes from being desserts, culinary ingredients or both. Variety selections make them ideal for any gardener looking to spice up their fruit plot.
Wrapping Up: The Joy of Growing Pear Trees at Home

Growing your own pear tree can be a rewarding and fruitful endeavour. The joy of biting into a succulent pear, ripened on the tree in your own garden, is an experience like no other.
With the right care and attention, your pear tree can thrive, providing you with a bountiful harvest season after season. Remember, the key to success lies in choosing the right pear variety, planting in full sun, and ensuring your soil type is suitable.
Regular pruning and care will ensure your tree continues to produce fruit year after year. In conclusion, whether you're a seasoned gardener or a beginner, this comprehensive guide provides all the information you need to grow and care for your pear tree with success.
So why wait?
Start planning your dream garden today and experience the joy of growing your own pear tree at home.