


The Ultimate Guide to Growing Bay Leaf Plants
Welcome to our comprehensive guide on growing Bay Leaf plants, your one-stop resource for all things related to this versatile evergreen shrub. Whether you're a seasoned gardener or a green-fingered novice, we've got you covered. From understanding the basics of Bay Leaf plants to mastering the art of planting and caring for them both indoors and outdoors, we'll walk you through every step of the process.
Bay Leaf plants, also known as Bay Laurel or Sweet Bay, are renowned for their fragrant leaves that add a unique flavour to soups, stews, and other dishes. They thrive in full sun or partial shade and can be grown in containers or directly in the ground. But there's more to these plants than meets the eye.
Stay tuned as we delve into the nitty-gritty of Bay Leaf plant care, including light, soil, and water requirements, temperature and humidity preferences, and tips on fertilising and pruning. We'll also guide you through the process of propagating Bay Laurel, harvesting Bay Leaf, and dealing with common pests and problems. So, whether you're looking to grow this plant in a sunny window or an outdoor location, we've got all the information you need.
Let's get started!
Understanding the Basics of Bay Leaf Plants

Before diving into the world of bay leaf plants, it's crucial to understand the basics. These plants, known for their aromatic leaves, are a staple in many kitchens and gardens. They're not just a culinary delight; they also add a touch of greenery to your space, making them a popular choice among gardening enthusiasts.
Whether you're a seasoned gardener or a beginner, understanding the fundamentals of bay leaf plants can help you grow them successfully. From their native Mediterranean origins to their growth habits, every detail plays a significant role in their cultivation. Let's explore the basics of these fascinating plants.
Overview of Bay Leaf Plants
The bay leaf plant, also known as the bay laurel or Laurus nobilis, is a tree or shrub native to the Mediterranean region. It thrives in warm, humid climates, making it an excellent choice for both indoor and outdoor cultivation, depending on your location. Offering fragrant, dark green leaves, this plant not only renders aesthetic pleasure, but also serves as a flavour enhancer in numerous culinary dishes.
However, harvesting the leaf requires the removal of the leaves before serving due to their considerable toughness. Characteristic of bay leaf plants, they are slow to grow often reaching a potential height between 12 to 40 feet. Even so, they are typically pruned to 8 feet or less for practicality and ease of care.
Though the bay leaf plant is robust, it is prone to common pathogens. These can lead to ailments like anthracnose, which turns the tips of the leaves black or brown, and powdery mildew. Alike most plants, the bay leaf plant prefers a balance, making sure not to overwater or keep the soil too moist is critical in preventing root rot diseases.
Being a plant with a voracious need for sunlight, whether planted outdoors or indoors as a bay leaf plant indoors, they require a space exposed to a good deal of sun. This ensures that the plant receives ample indirect, yet bright light that is essential for its growth. While growing outdoors, ample space is required due to its robust habit, hence it's essential not to crowd them with other plants.
Though this plant infuses your culinary dishes with flavour, it's worth noting that the leaves can be toxic for pets and horses upon ingestion. Thus, with a little attention to its few specific needs, the bay leaf plant can be a great addition to your home offers much more than aesthetics.
Types of Bay Leaf Plants
Bay Laurel (Laurus nobilis): Known popularly as the bay leaf tree, this variety is native to the Mediterranean and grows large, slightly rounded leaves that exhibit a delicate, floral aroma when dried. Ideal for chefs that require a subtle enhancement in their culinary creations.
Sweet Bay (Laurus nobilis var. Angustifolia): This variety, also referred to as the narrow-leafed bay, has leaves that are much slenderer and pointed, with a more potent flavour profile. Popular for use in potpourri due to its strong fragrance.
California Bay (Umbellularia californica): Despite its name, California bay is not a true bay but is often mislabelled as such due to its similar taste and smell. This variety has a harder, woodier leaf compared to the true bay laurel plant making it less suitable for culinary purposes.
While all these varieties may bear the resemblance of a bay leaf plant, not all are suitable for culinary uses due to differing sensory properties and toxicity levels. Always ensure that you're planting the correct variety to match your specific needs.
How to Plant Bay Leaf Indoors and Outdoors

Whether you're a seasoned gardener or a novice, planting bay leaf plants can be a rewarding experience. This guide will walk you through the process of planting bay leaf both indoors and outdoors. We'll cover everything from choosing the right location to the actual planting process.
Remember, whether you choose to plant bay in a container or directly in your garden, the key to a thriving bay leaf plant is replicating its natural Mediterranean habitat as closely as possible. Let's dive in and learn how to grow this aromatic herb successfully.
Choosing the Right Location for Your Bay Leaf Plant
Selecting the appropriate location for your bay leaf plant is a crucial first step in your gardening journey. It's important to remember that this plant thrives best under a generous share of sunlight. Whether you plan to plant bay leaf outdoors, grow in a container, or indoors near a sunny window, make sure it will receive plenty of indirect, bright light.
If you're plotting to plant it outdoors, bay leaf requires a spot with not just adequate sunlight but also ample space to grow. This is due to its expansive nature which can cause it to overshadow the surrounding plants. Therefore, ensure you avoid crowding it with other floras.
Alternatively, if an indoor bay leaf plant is on the cards, selecting the right pot is key. Even if you're to grow this plant in a small pot, it still needs room for growth. It’s best to use a large pot as bay leaf trees can grow fairly tall and deep-rooted.
The key is to simulate its native Mediterranean habitat as closely as possible for optimal growth. Consider these pointers in your quest to successfully plant bay leaf, and you would be off to a good start.
Steps to Plant Bay Leaf
Planting your bay leaf plant can be a simple process if you follow some straightforward steps. Remember, this is a plant that is happy both indoors and outdoors, so think about your personal preferences and also consider the climate and sunlight in your area before deciding on its location. The subsequent paragraphs will give you some key steps to follow.
Choose Your Plant Type: To begin with, it's crucial to get a healthy bay leaf plant. You can either start from seed, although this could take months, or opt for a more established plant for quicker results.
Pick Your Location: Both indoors and outdoors are suitable, but ensure the chosen spot gets plenty of light and has excellent air circulation. Bay leaf plants crave sunlight and good ventilation.
Consider the Right Container: If you plan to grow this plant in a pot, be sure to select a container with sufficient drainage. This helps avoid water pooling at the base which could cause root rot.
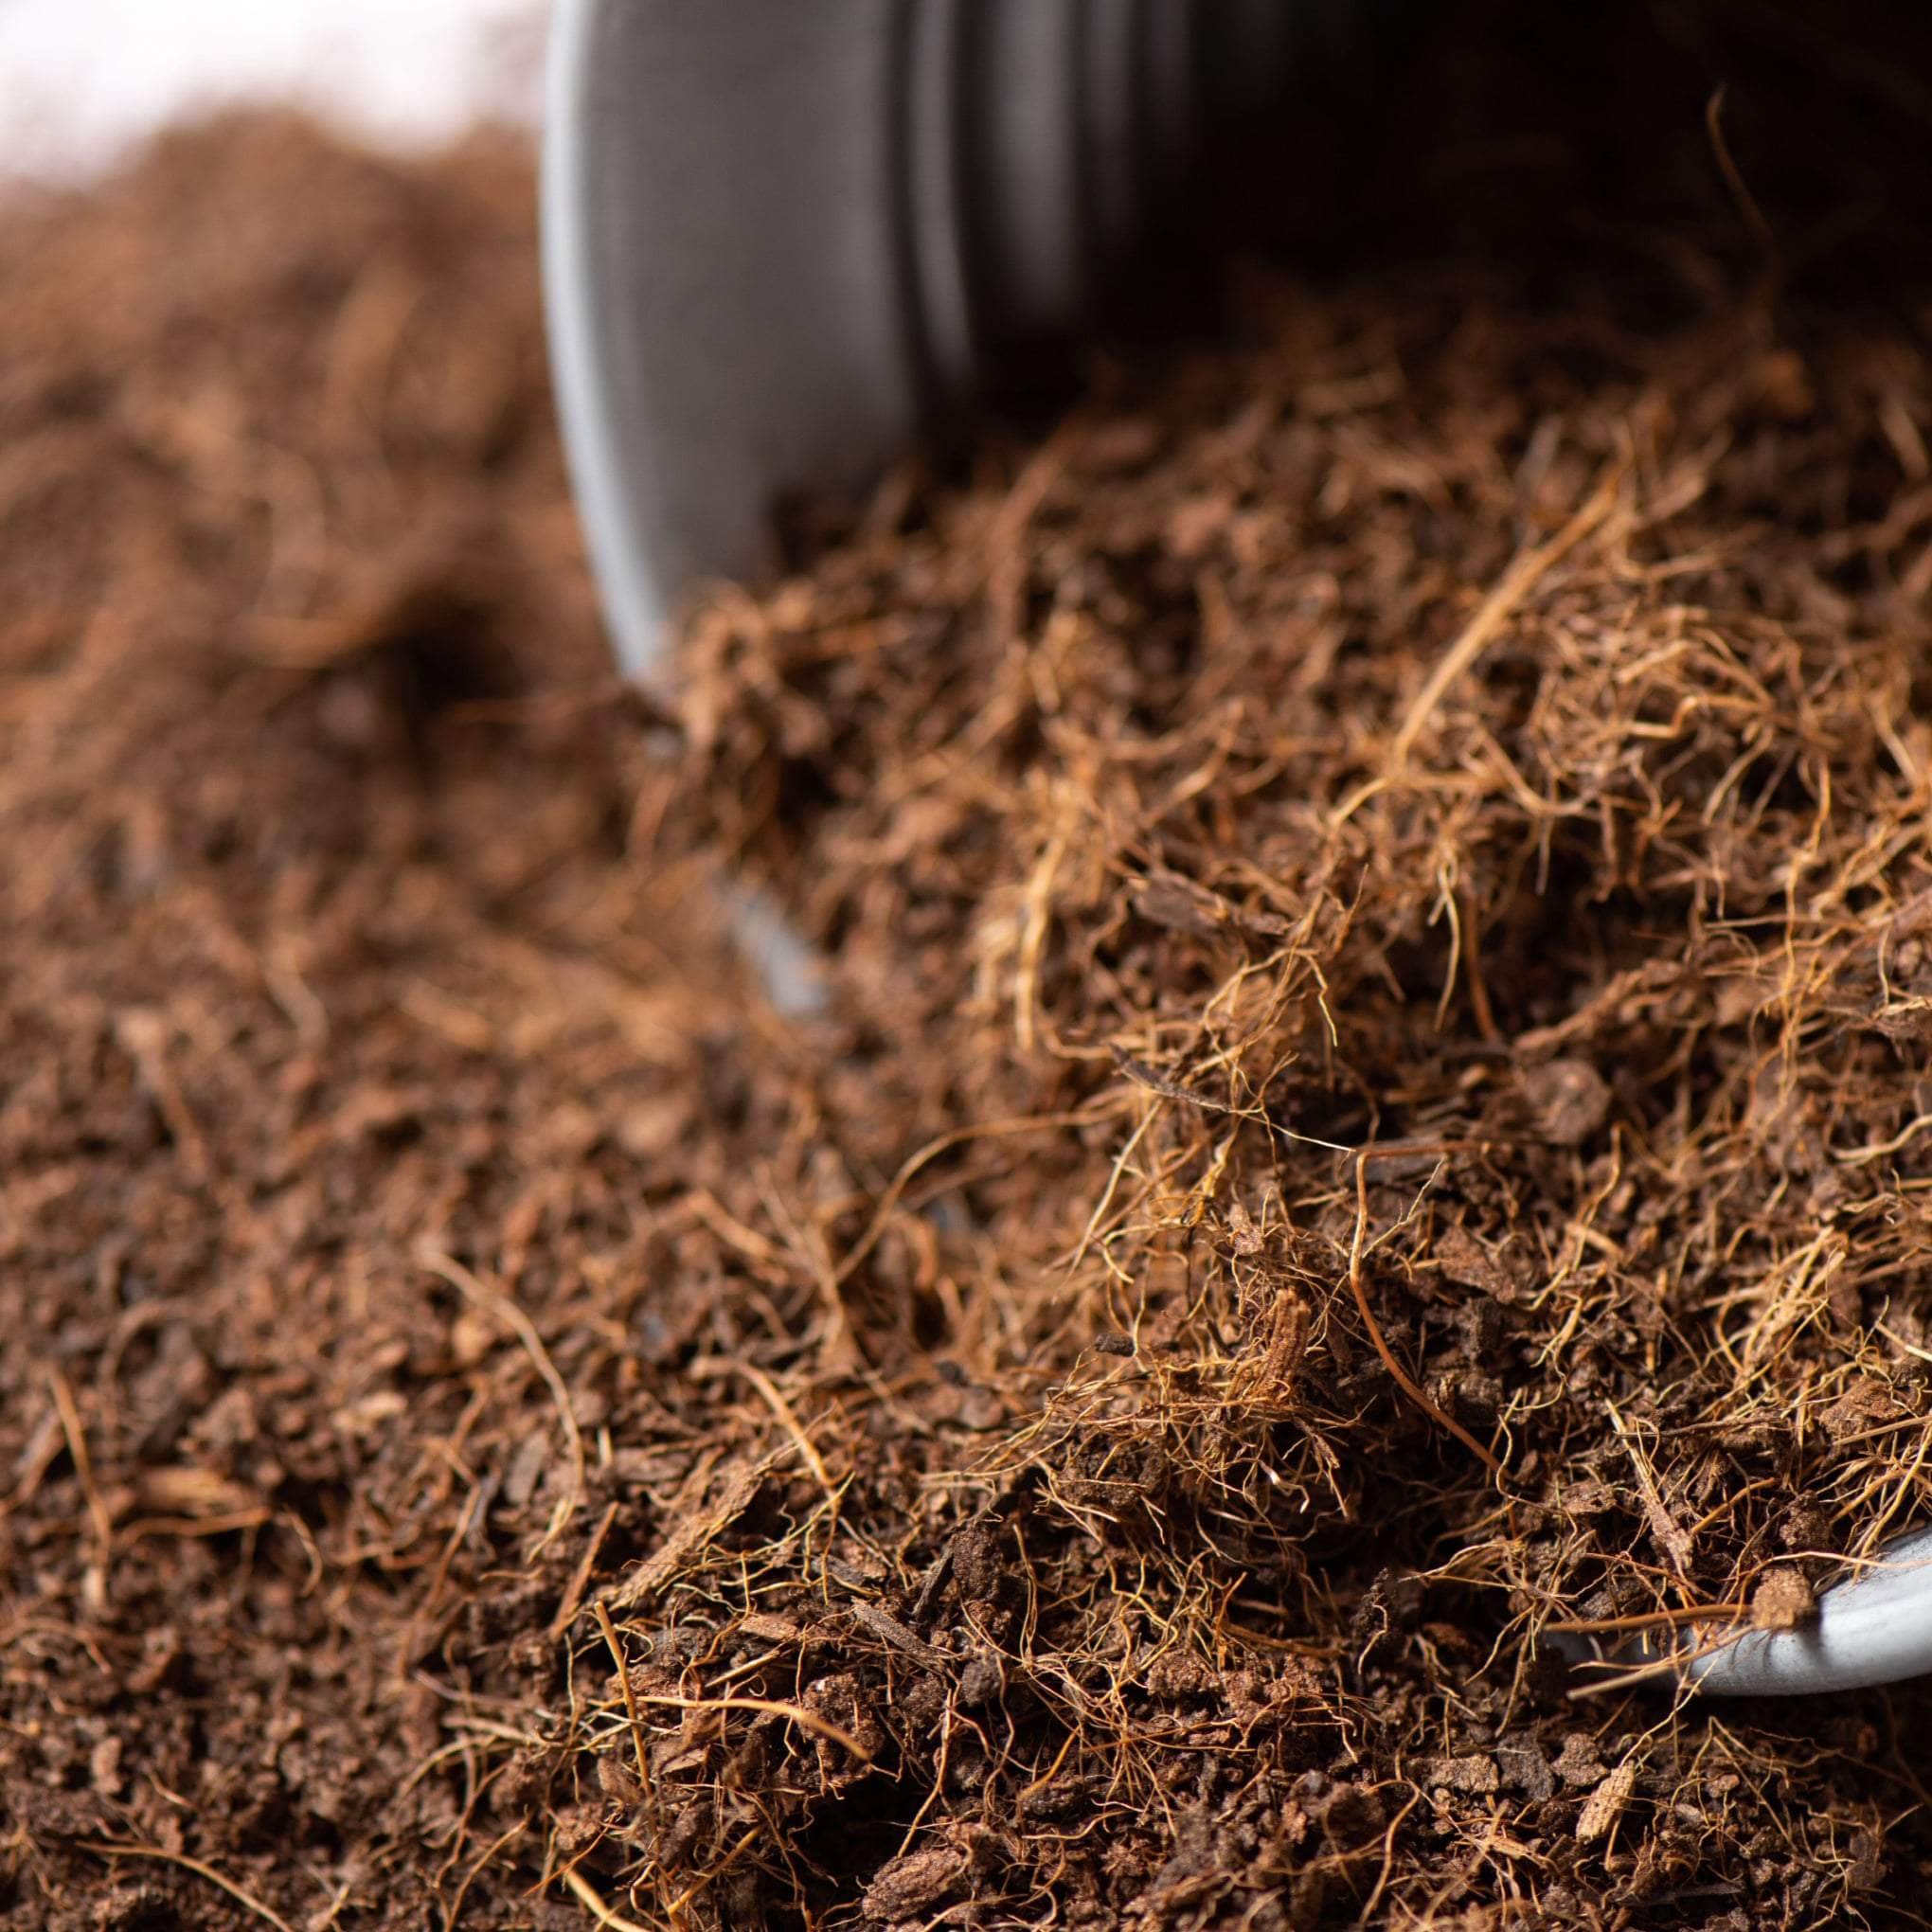
Prepare the Soil: Use a well-draining potting mix suitable for this warm-weather loving plant.
Planting Procedure: Position your bay leaf plant in the prepared pot and cover its root ball with soil. It's good to remember that when growing in a container, the plant's size can be controlled by pruning, whereas if grown directly outdoors, it may reach considerable heights.
Caring for Your Plant: After planting, hydrate your bay leaf by watering appropriately. But remember, overwatering is as harmful as under-watering.
The joy of nurturing a bay leaf plant lies in its dual purpose: you not only get a pleasing aesthetic addition to your space, but also a readily available supply of fresh bay leaves for your culinary uses. Just remember to be patient as this slow grower takes its time to establish and thrive.
Bay Leaf Plant Care Tips

Growing bay leaf plants can be a rewarding experience, especially when you understand their specific needs and preferences. In this section, we will delve into the essential bay leaf plant care tips that will help your plant thrive. From understanding the right amount of sunlight to the type of soil and the level of moisture required, we will guide you through the process of nurturing your bay leaf plant.
Whether you're a seasoned gardener or a beginner, these tips will provide you with the knowledge you need to ensure your bay leaf plant flourishes. So, let's dive in and explore the world of bay leaf plant care.
Light, Soil, and Water Requirements
The cornerstone of successful bay leaf plant care lies in understanding its light, soil, and watering needs. As a native Mediterranean plant, bay leaf plants are accustomed to an environment that offers full sun to light shade. Whether grown in a garden or placed near a sunny window in your home, it's crucial that your bay leaf plant receives enough light.
Soil type is another vital factor to be considered. While these plants can withstand a wide range of soil pH, they show optimal growth in soil with a pH of 6.0 to 7.0. Be it sandy, loamy, or even clay, it can tolerate it all as far as the soil is well-draining. Bay leaves grown in containers can flourish in a regular commercial potting mix, ensuring ample drainage.
Now, the requirement of moisture is quite specific for a bay laurel. Regular watering is key, but the soil should never remain wet for long periods. Let the topsoil dry out slightly before you water again to ensure you don't overwater. It's vital to not let the compost get waterlogged, particularly in winter, as the roots may rot.
Temperature and Humidity Preferences
Bay leaf plants have specific temperature and humidity needs to thrive optimally. They flourish best when the temperature is maintained within the comfortable range of 60°F to 70°F. Any ambient temperature outside this range can impact the plant's overall health and growth. Therefore, providing a consistent temperature environment is paramount, making indoor gardening an excellent choice.
However, an interesting requirement for bay leaf plants is their love for humidity, setting them apart amongst the indoor plant species. If you notice the tree shedding leaves, it is a tell-tale sign of the plant lacking sufficient humidity. Consequently, frequent misting is recommended, especially when grown indoors, to keep them healthy.
As an alternative, you can increase room humidity by placing the plant container over a tray filled with wet rocks or pebbles. The evaporation off the water-soaked pebbles creates a humidity bubble around the plant ideal for their growth requirement.
Each plant is unique and may require slight adjustments in its care routine based on its location and surrounding conditions. So, monitor your bay leaf plant closely, and it will reward you with a healthy growth and aromatic leaves you can use in your culinary adventures.
Fertiliser and Pruning Tips
Understanding the nourishment and formative requirements for your bay leaf plant is vital for its growth.
Bay laurel is a sun-loving plant. While it can tolerate light shade, it thrives in full sun. If you're cultivating indoors, placing them by a sunny window is a commendable option. But there's more than just light and placement - the intake of nutrients plays a crucial part.
Selecting a good fertiliser for your bay leaf plant is a significant step in effective care. Regular fortification every fortnight, particularly from mid-spring to late summer, can help your bay trees gain the essential nutrients they require.
Pruning is also an essential part of bay leaf plant care. Trimming your topiary bay in the summer not only maintains its attractive shape, but also encourages denser growth. It is important to note that mature bay trees can tolerate hard pruning but they are slow to recover, hence it is best to carry out this process over two to three seasons in late spring.
Remember to remove any leaf tips damaged by winter weather by lightly pruning in late spring. If suckers appear on the stem, remove them to maintain your desired plant shape. Make sure to use secateurs for this purpose, as chopped leaves may die back, making your plant look unsightly.
By following these bay leaf plant care tips, one can ensure that their bay laurel thrives, providing a rich source of aromatic leaves for your cooking endeavours.
Propagating Bay Laurel

Growing your own bay laurel plant can be a rewarding experience, especially when you propagate it yourself. Propagating bay laurel is a process that requires patience, care, and a bit of gardening know-how. This section will guide you through the steps of propagation, ensuring you have all the information you need to successfully grow your own bay laurel plant.
The process of propagating bay laurel involves using a root hormone and taking cuttings from the plant. This is typically done in late spring, which is considered a good time for propagation. Whether you're a master gardener or a beginner, this guide will help you understand the process and provide you with the necessary steps to propagate your own bay laurel plant.
When and How to Propagate Bay Laurel
Propagating bay laurel is a rewarding process which requires a modicum of attention to detail. It's generally agreed among the master gardeners' community that late spring, when the weather begins to warm up, is the best time to instigate this process. If you reside in a temperate grow zone, this might be the prime time to propagate your laurel plant.
The first step involves taking a 6-inch cutting from a healthy branch, preferably one that is green and pliable. This cutting will be your gateway to another thriving bay laurel plant. A pro tip here is to ensure your pruners are sterile to prevent any chances of introducing plant disease to the new cutting.
Next, arm yourself with a rooting hormone. The cutting's tip should be dipped into this hormone before being planted in a pot filled with coarse, moist sand. The rooting hormone acts as a catalyst, nudging the cutting on its path to becoming a full-fledged bay laurel plant.
The planted cutting then needs to be covered loosely with plastic — a simple yet effective makeshift greenhouse. The containers holding cuttings should be placed in warm locations with indirect bright light, where they'll stay for about one to two months.
During this waiting period, the cuttings take their time developing roots. You can identify whether roots have formed by gently tugging on the cutting; if you feel resistance, that's a tell-tale sign of root formation. Once this milestone is achieved, the plastic covering can be removed, and you can bask in the joy of birthing a new bay laurel plant.
Harvesting Bay Leaf

The art of harvesting bay leaves is a rewarding process that not only enhances your culinary skills but also allows you to connect with nature. This section will delve into the specifics of harvesting bay leaves, providing you with practical tips and insights to ensure you get the most out of your bay leaf plant.
Whether you're growing your bay leaf plant indoors or outdoors, understanding the right time and method to harvest is crucial. This knowledge will not only ensure the longevity of your plant but also guarantee the best flavour for your dishes. So, let's explore the world of bay leaf harvesting together.
When and How to Harvest Bay Leaf
Harvesting your bay leaf plants is a simple and rewarding process, particularly if you're a culinary enthusiast. Notably, bay leaf trees are evergreen, which means their leaves can be harvested all year round. Whether used fresh or dried, they add a unique warmth to your cooking that is hard to replicate.
Harvesting should be done when the tree is well established, typically when the plant is around two years old. The intriguing nature of the bay leaf tree is that you can take what you need when you need it, without damaging the plant's long-term health or production. When harvesting, remember to remove the leaves gently or use a pair of quality shears to snip them from the stem.
However, it's vital to be mindful of how much you harvest, as an over-harvested tree may struggle to sustain its growth. An ideal rule of thumb to follow is not to pick more than a third of the tree's total leaves at any given time.
When drying bay leaves, place them in a warm room, they will soften and enhance their flavour over time — it's the secret to that extra punch in your dishes. Whether using them directly or storing them for future use, having your own bay leaf plant ensures you never run out of this essential ingredient.
Common Pests and Problems
 Growing bay leaf plants can be a rewarding experience, but like any gardening endeavour, it comes with its own set of challenges. In this section, we will delve into the common pests and problems that can affect your bay leaf plants. From pesky insects to fungal diseases, these issues can hinder the growth and health of your plants if not addressed promptly.
Understanding these common pests and problems is the first step towards effective bay leaf plant care. Armed with this knowledge, you can take proactive measures to protect your plants and ensure a successful bay leaf plant harvesting. Whether you're growing your bay leaf plant indoors or outdoors, these tips will help you maintain a healthy and thriving plant.
Identifying and Treating Common Pests
Even with the right bay leaf plant care tips, it's possible to encounter common pests that can potentially disrupt the health of your greens. These bothersome pests are usually detectable by their effect on the plant's appearance, or worse, by the decline in the plant's health.
Among the most common pests that infest the bay leaf plant are the scale insects. Noticeably coated in a wax-like substance, these pests are nuisances that can stunt growth and cause leaf drop. Often, these insects will rest on the underside of your bay leaves. Therefore, proper inspection is crucial.
Now, how do we tackle this? Well, one way of addressing this is through the application of horticultural oil. This oil works by suffocating the pests, hindering their growth and ability to spread.
Another common pest includes the mealybugs, particularly seen if you grow your bay leaf plant indoors. Easily spotted with their cotton-like appearance, they can be eradicated by washing them off or through the use of insecticidal soap or neem oil.
Addressing these pests early paves the way for a healthier environment for your bay leaf plant, ensuring you have a robust plant for your bay leaf harvesting. Remember, a healthy plant is far more resistant to pests and diseases. Regular checks can save you from bigger issues down the line.
Addressing Common Problems
Those who cultivate bay leaf plants are no strangers to common troubles that may besiege these noble greens. While they're generally resistant, like any living entity, they're not impervious to every disease and malady.
One such tormentor is the dreadful wood decay. A fungal invader, it gnaws away at the sturdy core of the tree, potentially leading to its demise if left unchecked. Symptoms often include a softening and darkening of the bark.
This insidious disease's cohort in crime is the canker disease. It too is powered by fungal growth and has a penchant for causing damage from the inside out. Early detection becomes crucial to deal with these stealthy troublemakers.
A few physical symptoms to look out for are leaf spots and yellow leaves. Leaf spots can be a sign of waterlogged roots, especially common in container-grown bay leaf plants. Yellow leaves, apart from being a natural part of the plant's lifecycle, can also indicate nutrient deficiency.
Peeling bark, another common condition, could be attributed to cold weather or fluctuating soil moisture levels. Though it might seem concerning, healthy growth on the rest of the plant often hints at its non-fatal nature.
At the end of the day, prevention is certainly better than cure. With careful watering, regular pruning, and fresh, well-drained compost, a healthy bay leaf plant is not a hard goal to achieve.
Bay Leaf Companion Plants

When it comes to growing bay leaf plants, one aspect that often gets overlooked is the selection of companion plants. These are plants that can be grown alongside your bay leaf, either in the same container or nearby, to create a mutually beneficial environment. The right companion plants can enhance the growth of your bay leaf, and vice versa, making your gardening experience even more rewarding.
Choosing the right bay leaf companion plants can be a game-changer. Not only do they add to the aesthetic appeal of your garden or indoor plant setup, but they can also contribute to a healthier and more productive bay leaf plant. Let's delve into the world of companion planting with bay leaf and discover how to make the most of this gardening strategy.
Best Companion Plants for Bay Leaf
Here are the best companion plants for the bay leaf:
Rosemary: Just like bay leaf, rosemary thrives in similar growing conditions. This hardy herb also pairs well with bay in culinary applications.
Sage: Sage is another herb that shares the same love for sunlight and good drainage. It's also a fantastic flavour match with the bay leaf in the kitchen.
Thyme: A solid choice for its capacity to grow in a pot as well as outdoors. This herb doesn't mind being a bit rootbound, similar to the bay leaf.
Lavender: Not only is lavender a garden stunner, but it also thrives in conditions that suit the bay leaf. Plus, it brings a desirable aroma and beauty to the companion planting scenario.
Mint: Mint is a vigorous grower and should be planted in a separate container. However, it can provide great companionship when placed nearby as it shares similar needs for sunlight.
Bearing in mind that bay leaf plants can be grown both indoors and outdoors, these companion plants offer versatility to your gardening options. Whether you decide to plant in a small pot or a larger outdoor container, these companions will surely enhance your bay leaf planting experience. Make sure to select companion plants that share the same growth and care requirements to ensure a harmonious coexistence.
Final Thoughts on Growing Bay Leaf Plants

In conclusion, growing a bay leaf plant, whether in full sun or partial shade, is a rewarding endeavour. The versatility of this plant allows it to thrive both indoors in a sunny window and outdoors in a container or directly in the ground. With the right care and attention to factors such as soil type, moisture level, and common pests, your bay laurel plant can flourish and provide you with fresh leaves for your culinary adventures.
Remember, the key to a healthy bay leaf plant lies in understanding its needs and providing the right conditions.
From choosing the right location to knowing when to harvest bay leaves, every step is crucial. Don't forget, a good fertiliser like fish emulsion can make a significant difference in your plant's growth.
Lastly, don't be disheartened by common problems like leaf drop or powdery mildew. With patience and persistence, you can overcome these challenges and grow a thriving bay leaf plant.
Happy gardening!